Web Console
目的
熟悉使用 OCP Web Console。
环境
-
openshift v3.11.16/kubernetes v1.11.0
步骤
Application Console
Type in the master public URL provided by your instructor in a browser. Use <master public URL>:<port>. You will be directed to an OpenShift login page.
|
Note
|
Your browser may complain about the server’s security certificates not trusted by your computer. You can agree to proceed to the master URL. |
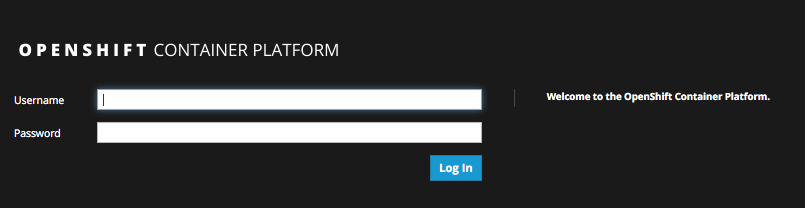
Key in the username and password provided by the instructor. You will see the list of projects now. Note the project you created in the last lab exercise is shown here.

Also note the New Project button which allows you to create a new project from Web Console.
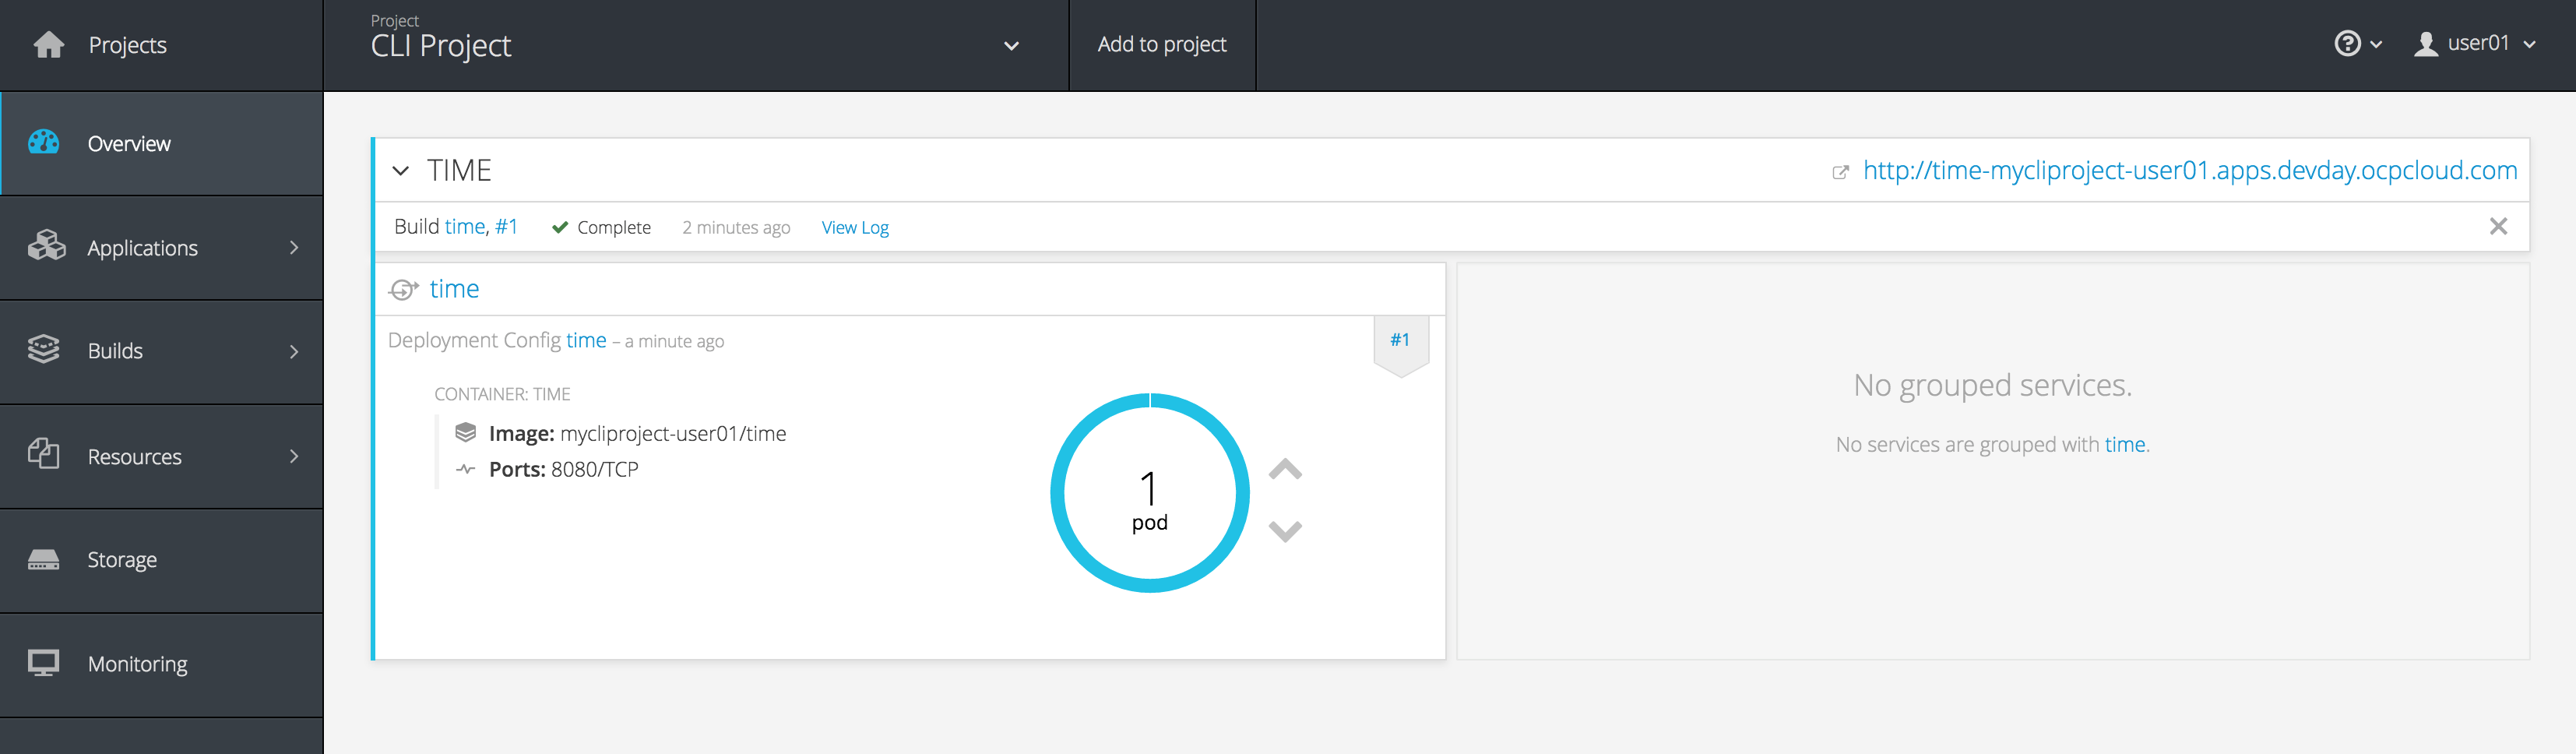
Now click on the CLI Project to view the details. OpenShift takes you by default to the Overview page and shows you a graphic representation of the application that is deployed here. You can see that a single pod is running and is front ended by a service. Note the route that you configured for this service is also shown. You will also see the Add to Project button on the top. This can be used to create new application from Web Console inside this project.
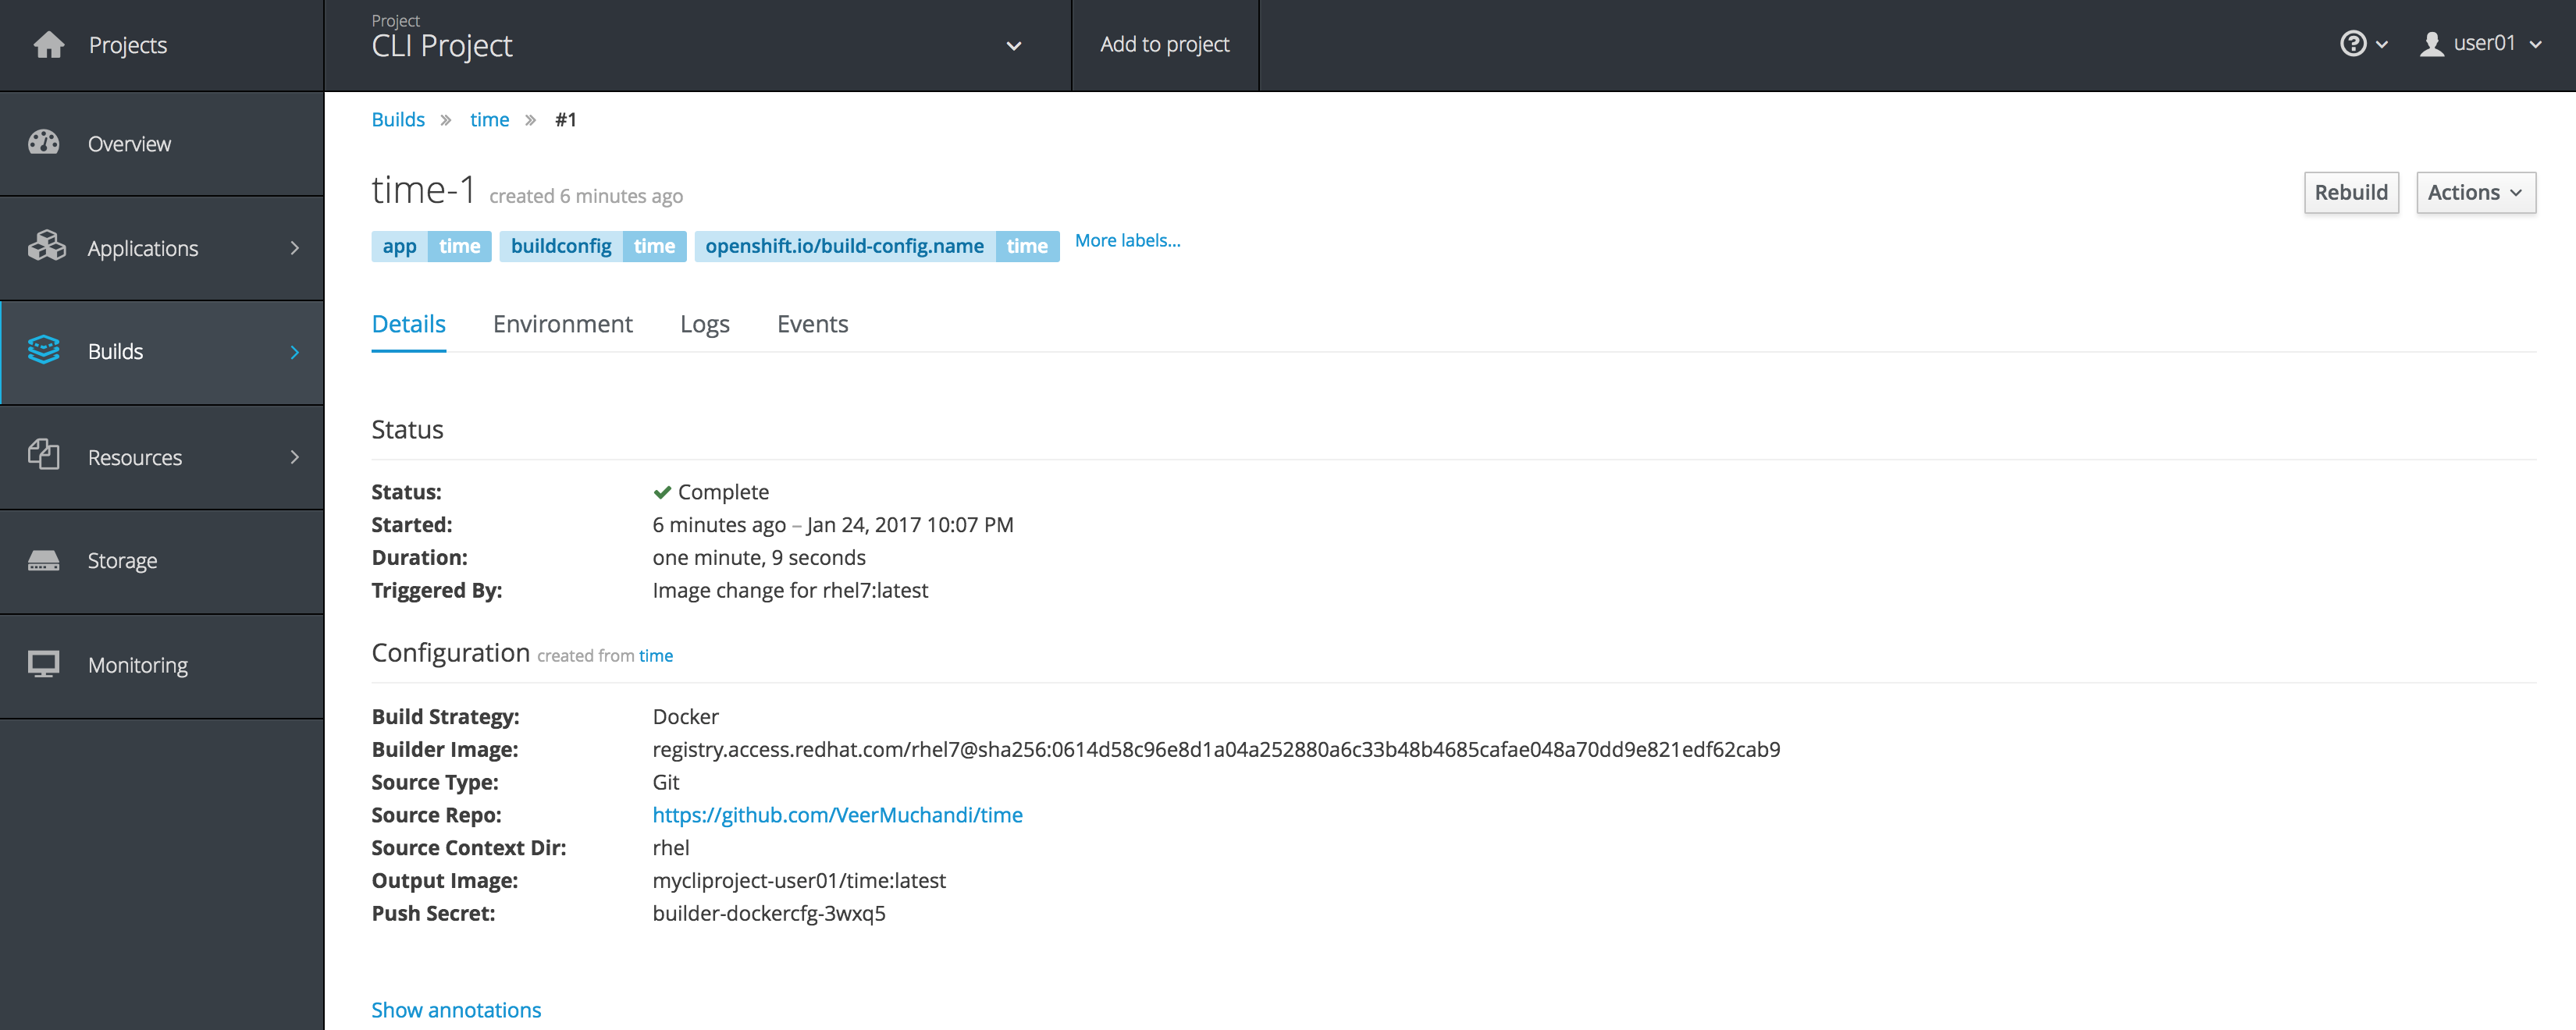
Select Builds under Builds tab, you will see all the build configurations. Click onto each build configuration and select the Configuration tab, we will be able to view all the build details.
Select Pods under Applications tab, you will find a running pod that is running your application image. Note that it also tells you the node on which the pod is running and other details about this pod. You will also see the build pod that had succeeded.

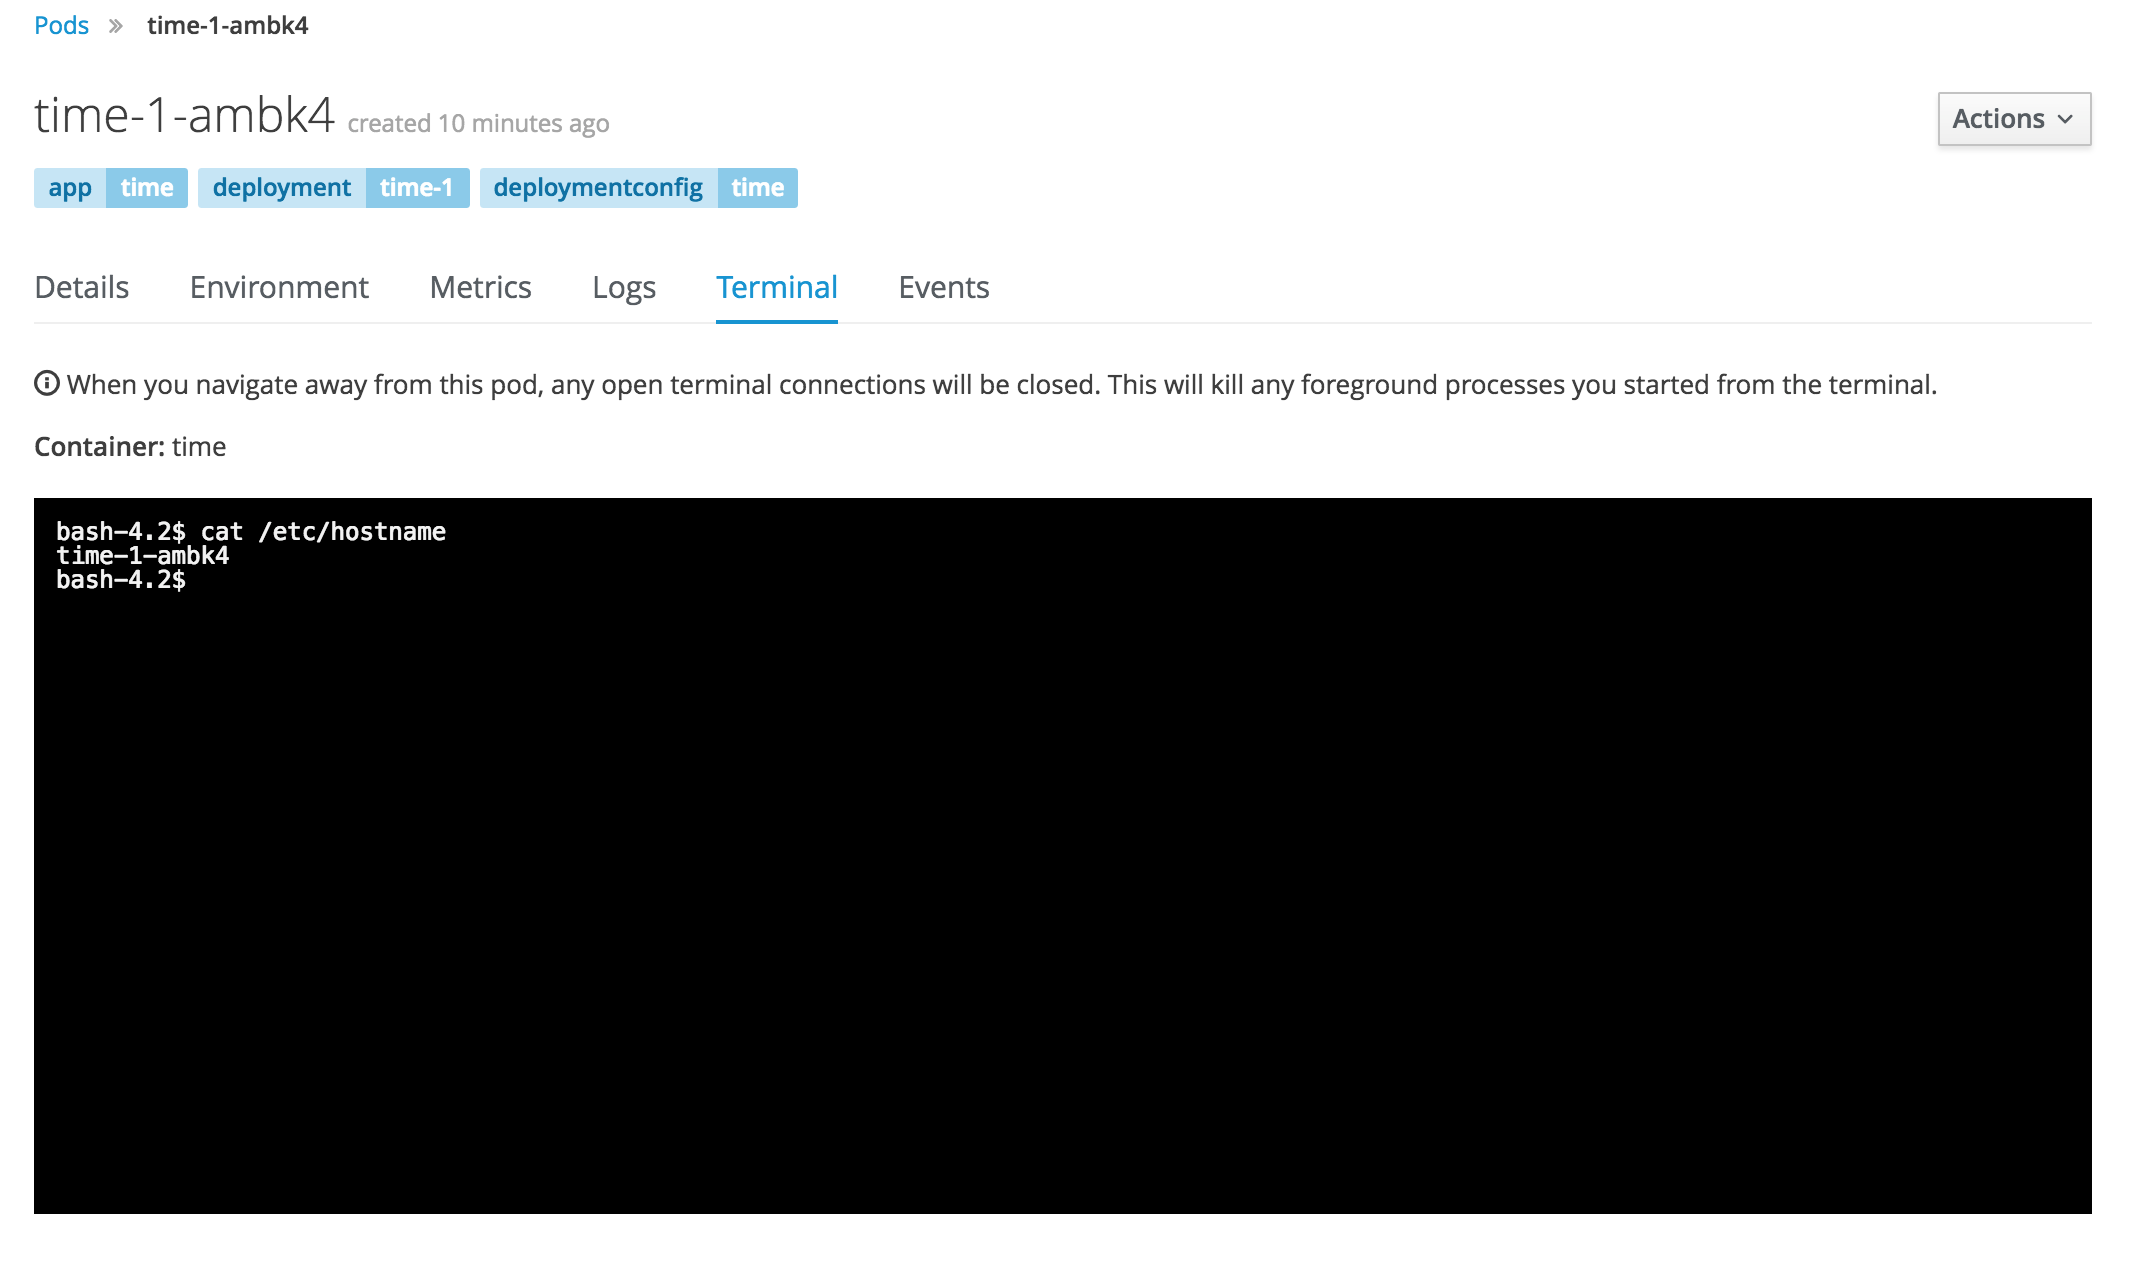
Click onto running pod, it shows the details on the pod. In addition, metrics, logs and terminal also available for monitoring.
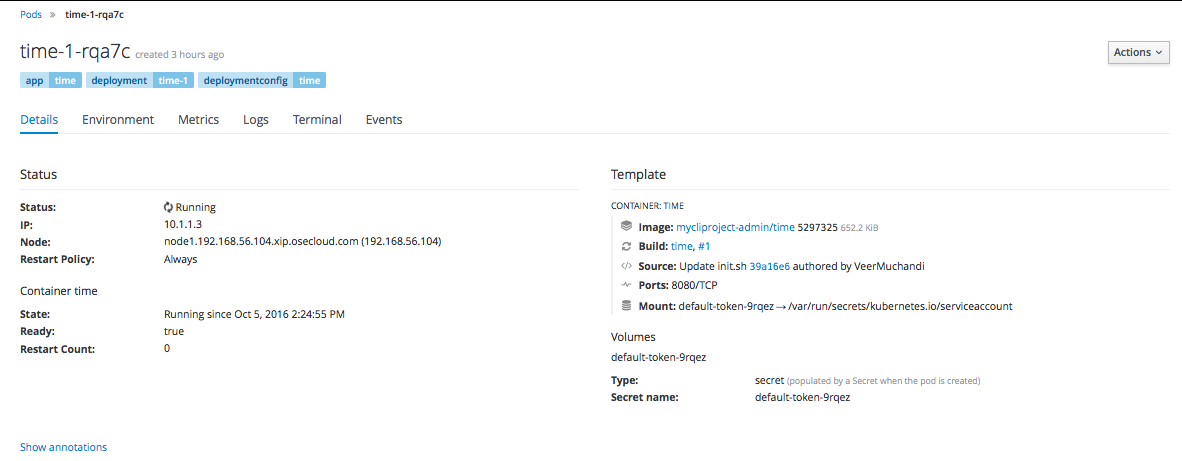
Click on Terminal tab, you will be able to access the pod from web console.
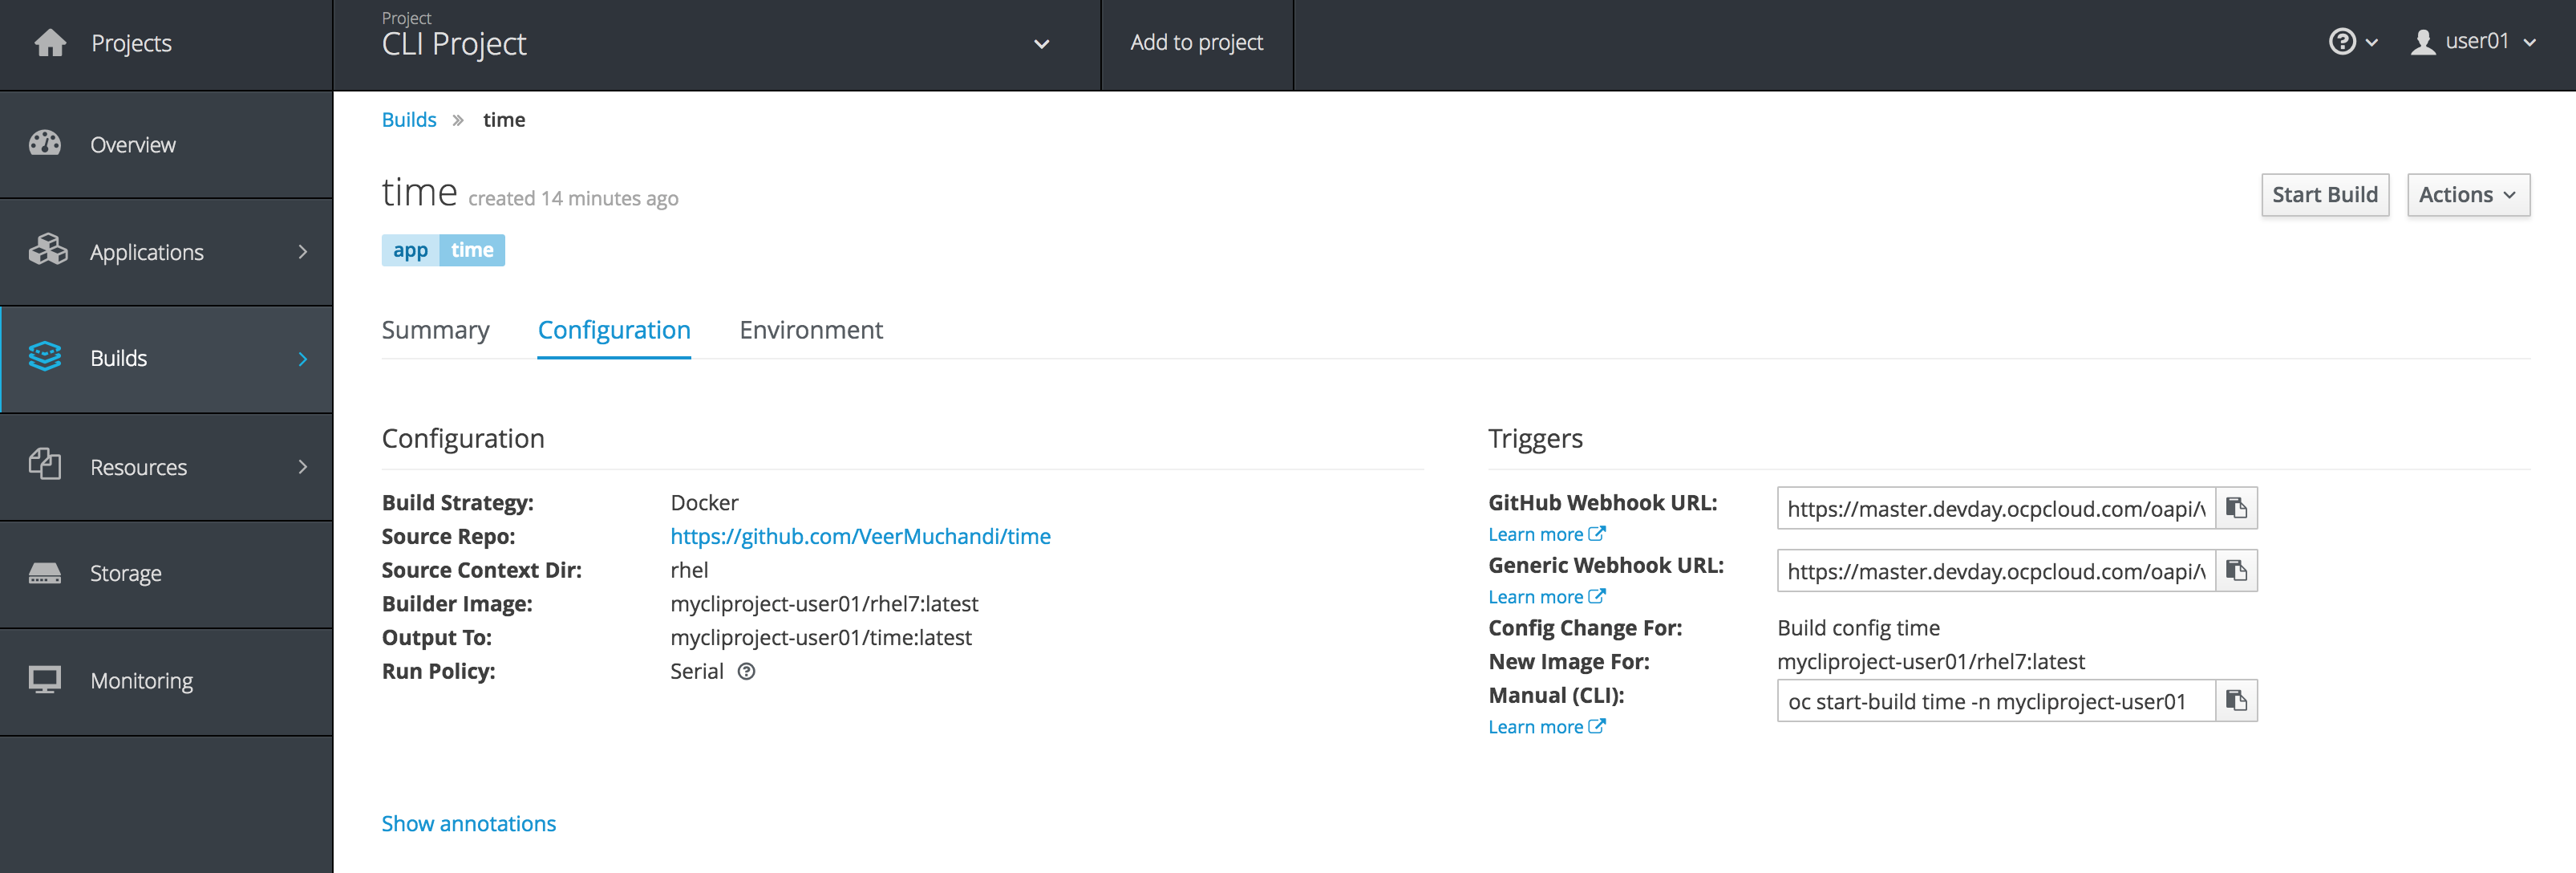
Click Builds on left menu and select Builds. Select the build name time and then click on Configuration tab. Note there are webhook URLs. We will use them in a later lab exercise. You can start a build from the Web Console by pressing the Start Build button in the right top corner. It also gives you a command to start the build from CLI.
-
Select Services under Applications tab, you will find the service created for your application. Click onto one of the services, it shows all the details about the service along with the option to expose it as a route.
-
Select Routes under Applications tab, you will see all the routes in the project. Click onto a route, it shows all the details for this route.
-
Select Deployments under Applications tab, you will see all the deployments. Click onto a deployment, it shows all the details of the deployment. By pressing the Deploy button, you will be able to start a deployment from the web console.
-
Select Monitoring tab, you will see all the events for the project. Also latest events grouped by resource type.
-
Select Images under Builds tab, it shows the list of image streams for the project. Click onto the specific image stream, it shows more details about the image stream.
Click on the Resources tab on the left to see that it would display the Quotas and Other Resources, if they exist. We will deal with them in a different lab exercise.