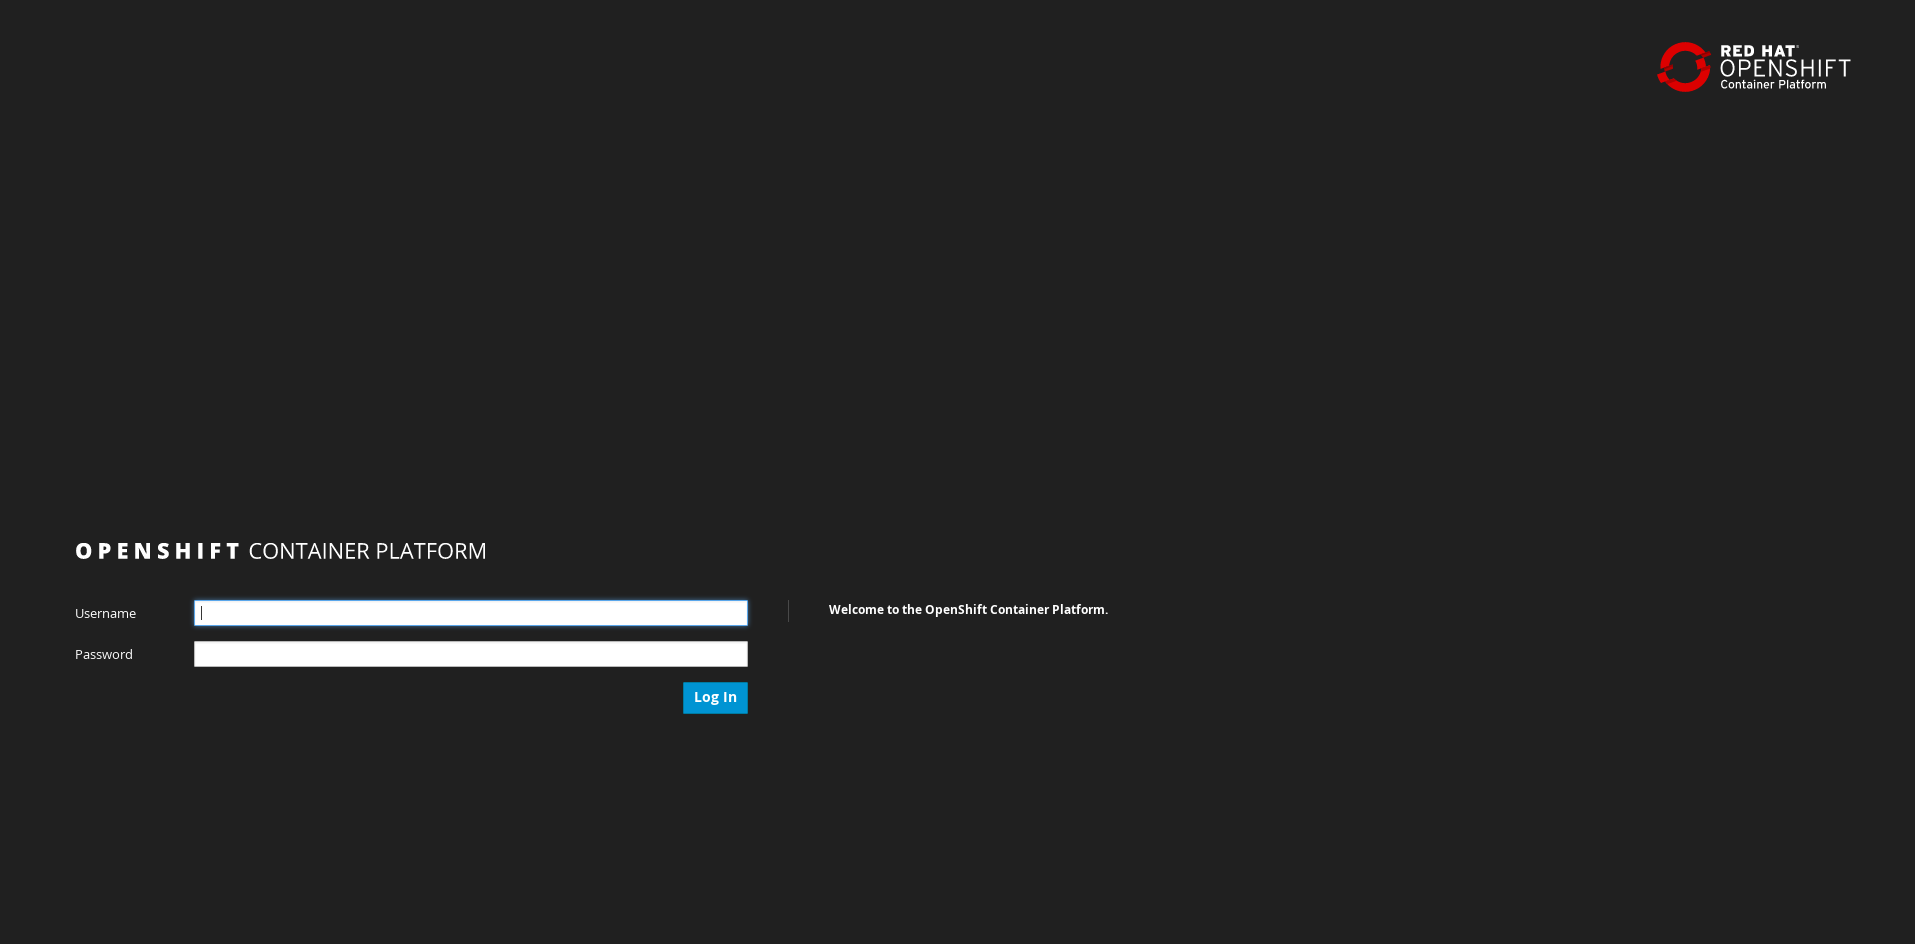
$ oc login https://master.example.com:8443
Authentication required for https://master.example.com:8443 (openshift)
Username: userxx
Password:
Login successful.

You don't have any projects. You can try to create a new project, by running

oc new-project <projectname>快速开始
Table of Contents
实验目的
本实验通过两个项目演示 OpenShift 基本概念,具体
-
通过
parksmap演示从镜像部署、容器扩展、容器自我治愈、服务、路由 -
通过
php-helloworld演示 S2I
登录管理命令行
1 - 命令行登录
2 - 登录验证
$ oc whoami
userxx
登录管理 Web Console
浏览器中输入 https://master.example.com:8443 进入 OpenShift 容器云平台登录页面
在上面登录页面输入
-
Username - userxx
-
Password - redhat
点击 logIn,进入 Web Console 欢迎界面。在页面的右上角你会发现 Create Project 按钮,点击创建 Project
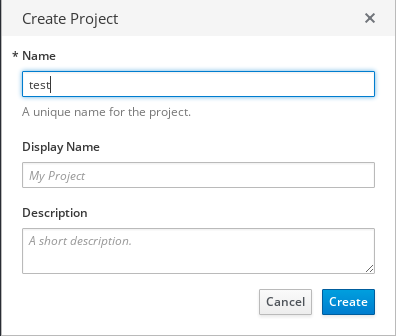
在创建 project 的界面输入:
-
Name -
testxx -
Display Name - 任意名称
-
Description - 任意描绘苏
点击 Create 按钮创建 project。
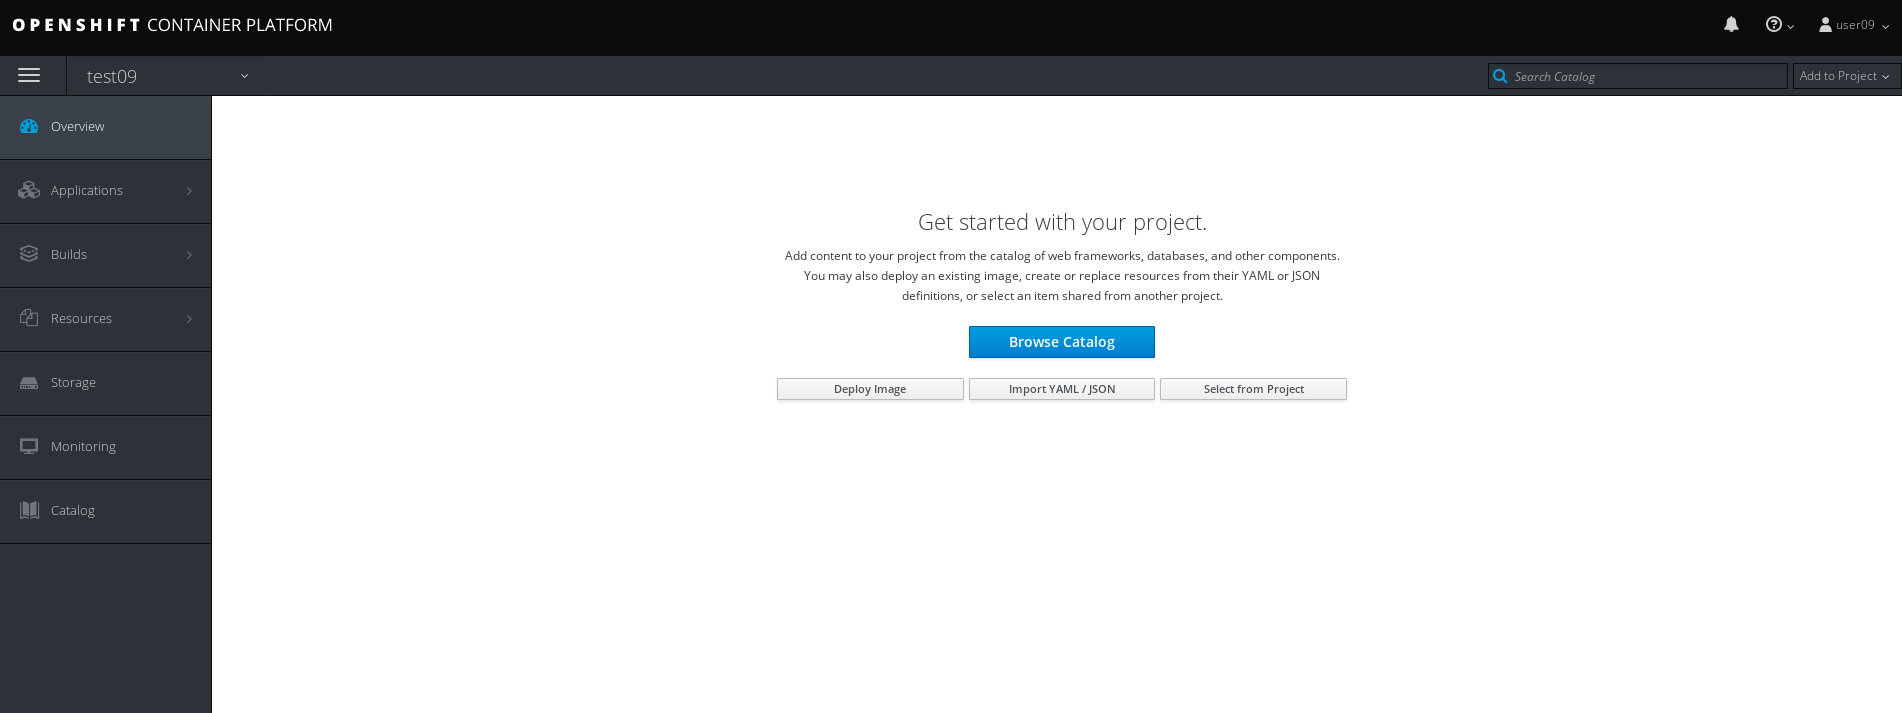
部署一个 Docker Image
点击 Docker Image 按钮,选择 Image Name,并且输入
registry.example.com/openshiftroadshow/parksmap:1.2.0
|
Note
|
parksmap 镜像在 docker.io 中也可以找到,具体的地址是:docker.io/openshiftroadshow/parksmap:1.2.0 |
按 Enter 键,
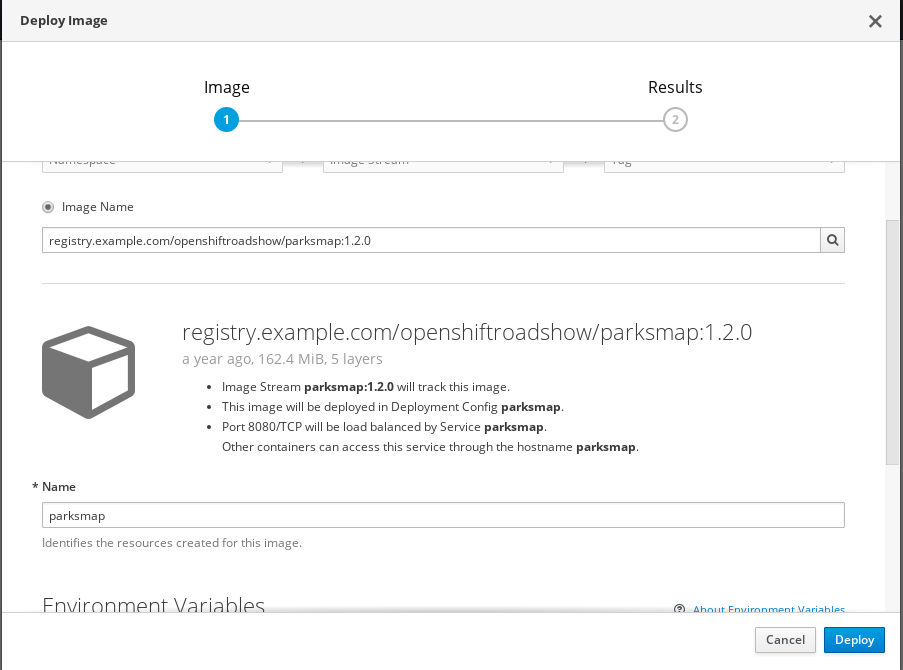
使用默认配置,点击 Deploy 按钮进行部署。
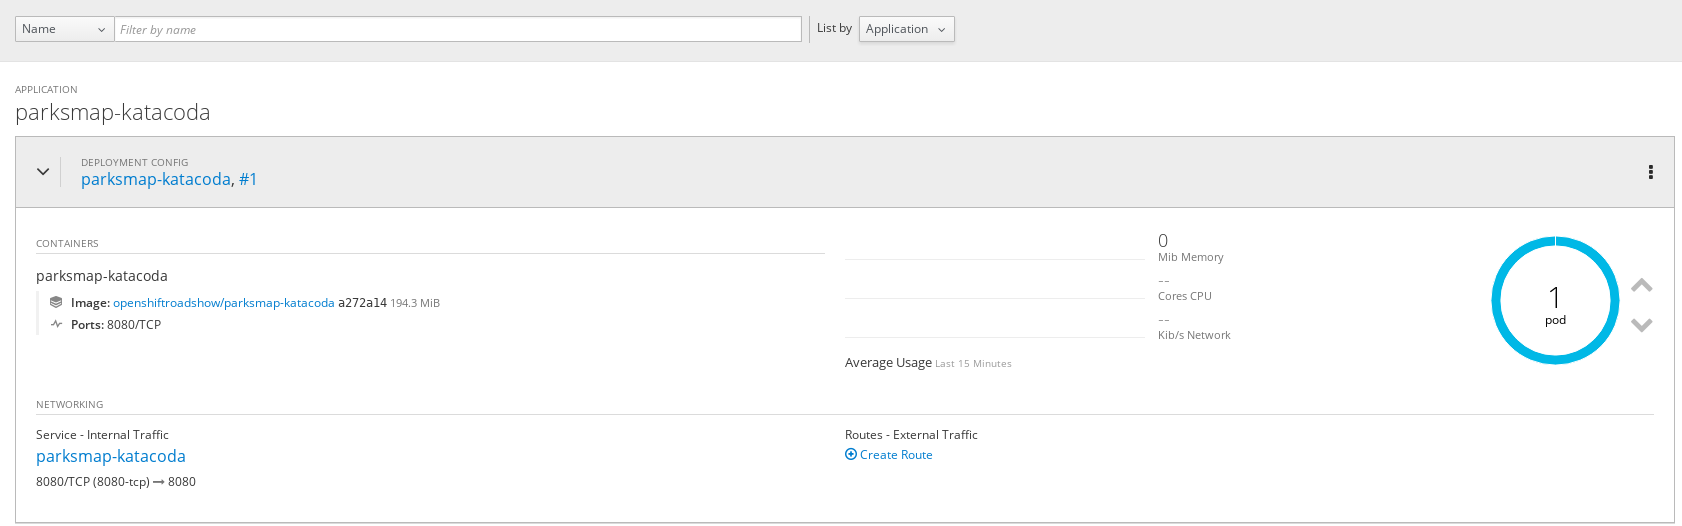
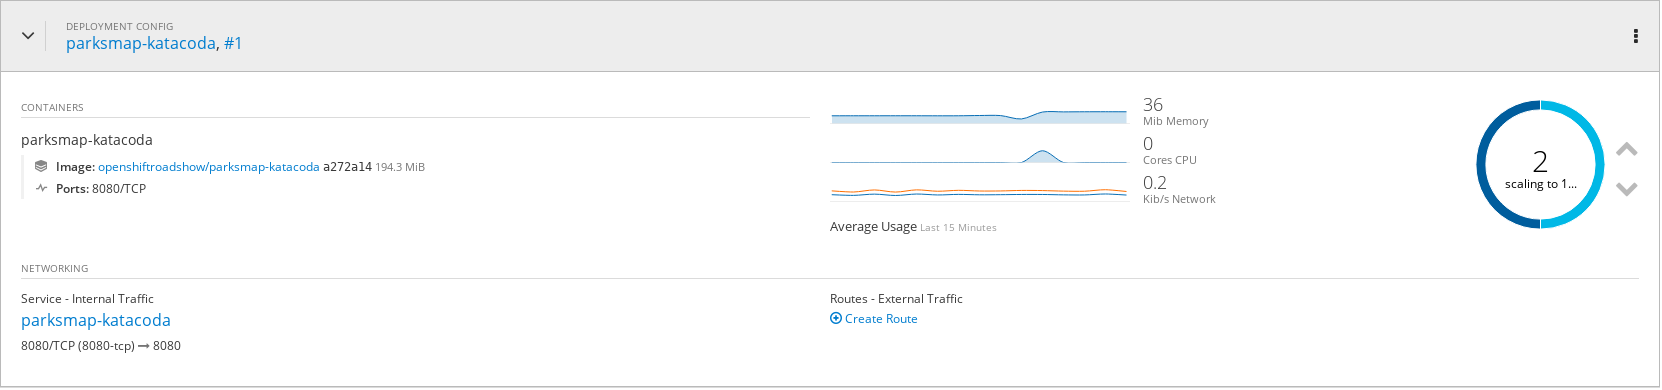
应用扩展与自我治愈
点击向上按钮扩展 parksmap Pod 的数量为 2,点击 Applications → Pods,可以看到有两个运行的 Pods:

点击进入任意一个 Pod, 在右上角点击 Action 下拉菜单,会看到有 Delete 选项:
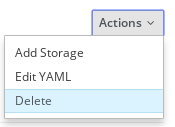
点击 Delete 删除 Pod, 返回到 Pod 列表,可以看到有一个新的 Pod 正在创建

选择 Overview, 点击 Pod 旁边向下箭头,将 Pod 数量降低为 1
给 HTTP 请求配置路由
选择 Overview, 点击 Pod,在 NETWORKING 栏点击 Create Route,
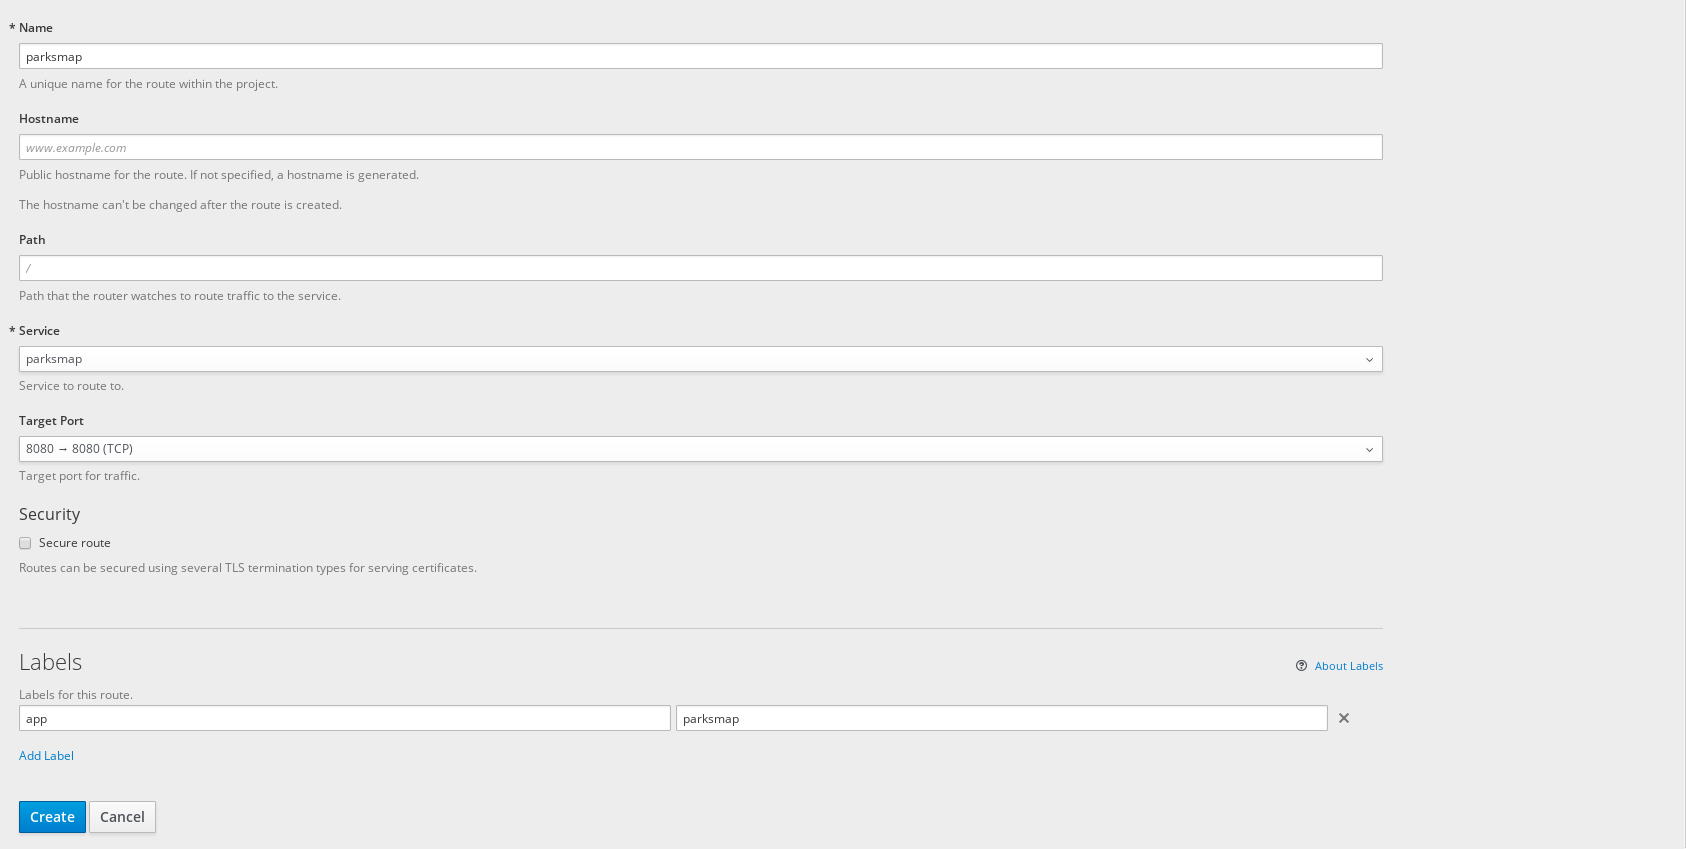
点击 Create 按钮创建路由。选择 Applications → Routes 可以查看
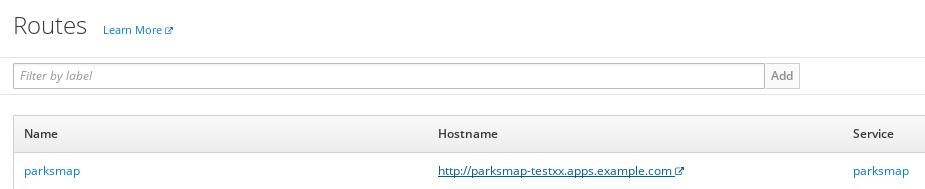
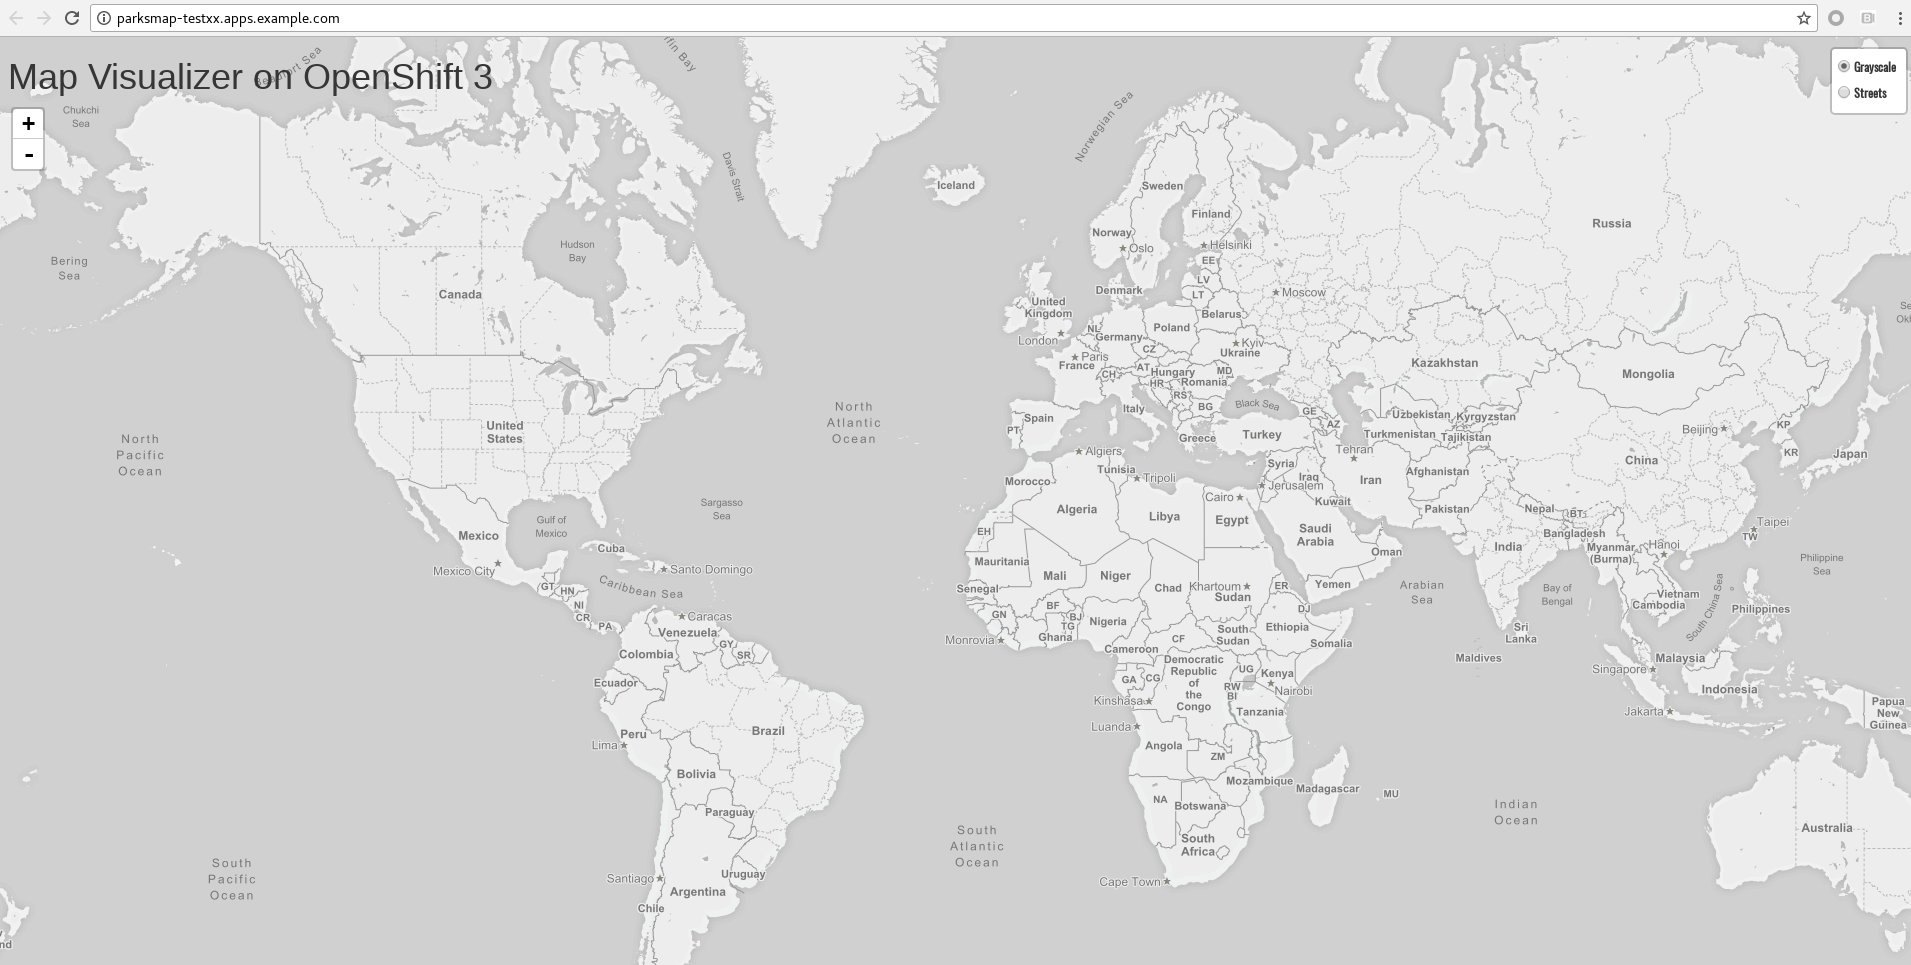
点击上面步骤中 URL(http://parksmap-testxx.apps.example.com)访问
S2I
|
Note
|
什么是 S2I?S2I 是指将代码快速转化成容器镜像的技术,是 OpenShift 技术的亮点,S2I 给开发者带来的好处是让开放者只关注开发本身,详细参照 S2I |
本部分所需要的代码路径:
http://git.example.com/open-source/php-helloworld.git
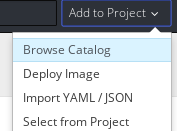
在 project 右上角,Add to Project
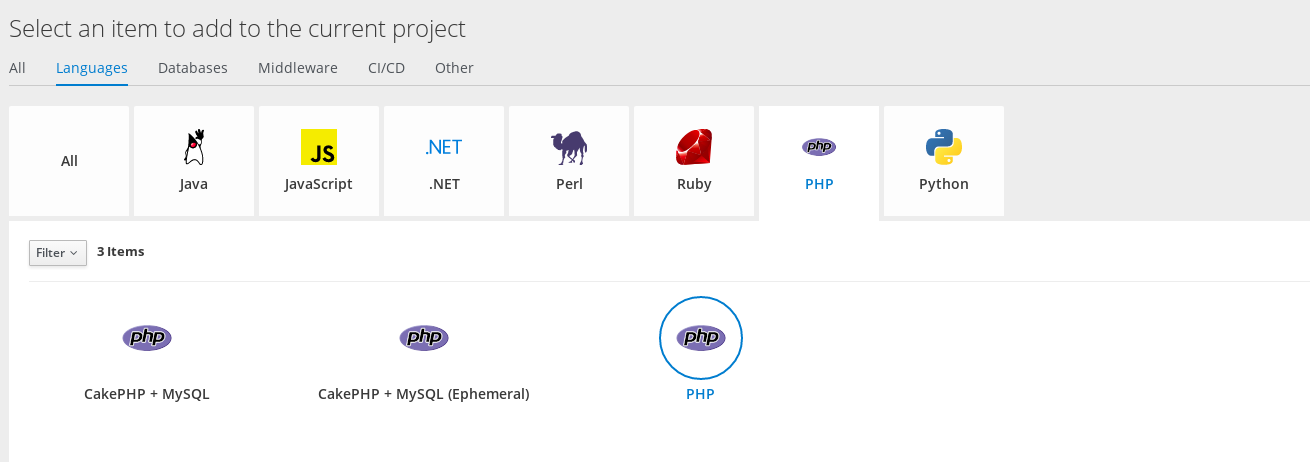
选择 Languages → PHP → PHP
在弹出的对话框中点击 Next,在 Configuration 栏编辑:
-
Version - 7.0
-
Application Name - php-helloworld
-
Git Repository - http://git.example.com/open-source/php-helloworld.git
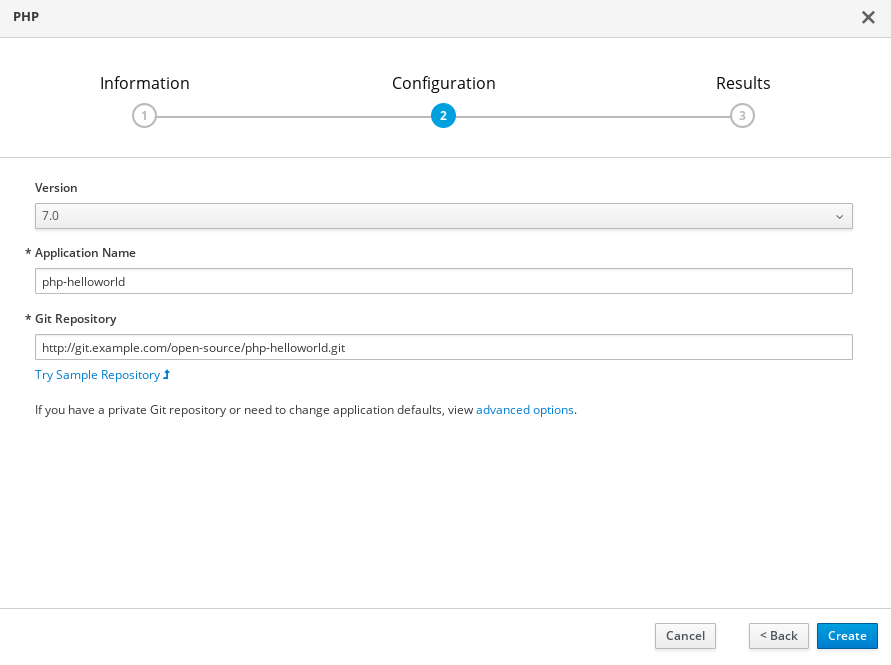
点击 Create 完成创建。选择 Overview, 展开 nationalparks-katacoda,查看 S2I 构建的过程:
构建组件 BuildConfig
-
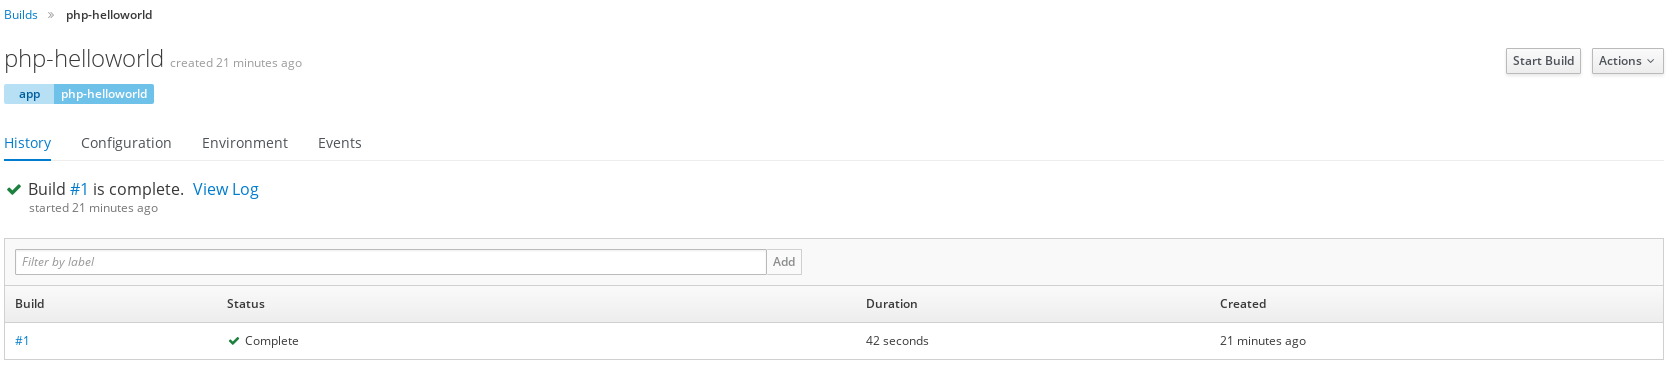
登录 Web Console,选择 Builds → Builds,进入构建列表:

|
Note
|
为什么部署了两个项目(parksmap 和 php-helloworld),而构建列表只有一个? |
-
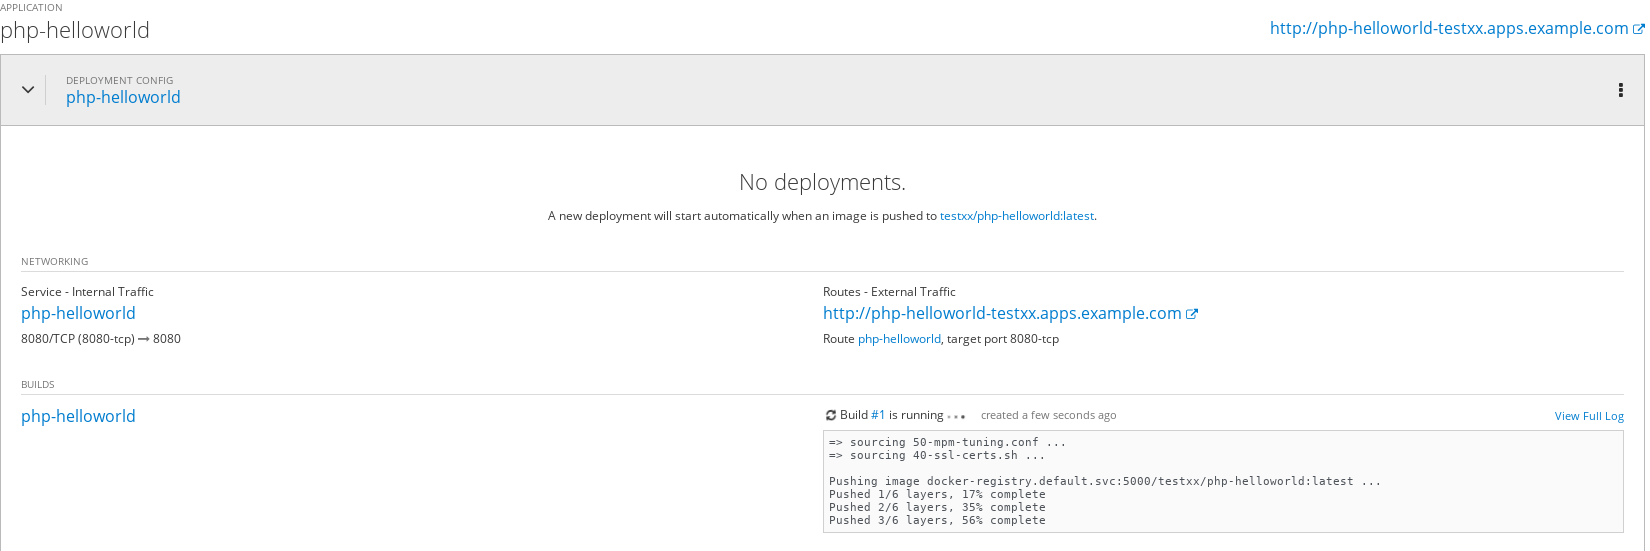
点击 php-helloworld,进入构建配置界面
点击 View Log 链接查看构建日志:
loning "http://git.example.com/open-source/php-helloworld.git " ...
	Commit:	3514b0496f9489012006459ad02a963e375615e8 (Update index.php)
	Author:	Administrator <admin@example.com>
	Date:	Fri Jun 22 06:14:11 2018 -0400
---> Installing application source...
=> sourcing 20-copy-config.sh ...
---> 05:23:53     Processing additional arbitrary httpd configuration provided by s2i ...
=> sourcing 00-documentroot.conf ...
=> sourcing 50-mpm-tuning.conf ...
=> sourcing 40-ssl-certs.sh ...

Pushing image docker-registry.default.svc:5000/testxx/php-helloworld:latest ...
Pushed 1/6 layers, 17% complete
Pushed 2/6 layers, 35% complete
Pushed 3/6 layers, 56% complete
Pushed 4/6 layers, 78% complete
Pushed 5/6 layers, 100% complete
Pushed 6/6 layers, 100% complete
Push successful点击其它页面,Configuration,Environment,Events,查看相关的配置。点击右上方 Start Build 按钮开始一次新的构建。
命令行查看所有构建
$ oc get bc
NAME             TYPE      FROM         LATEST
php-helloworld   Source    Git@master   2
命令行查看构建明细
$ oc describe buildconfigs/php-helloworld
Name:		php-helloworld
Namespace:	testxx
Created:	43 minutes ago
Labels:		app=php-helloworld
Annotations:	openshift.io/generated-by=OpenShiftWebConsole
Latest Version:	2

Strategy:	Source
URL:		http://git.example.com/open-source/php-helloworld.git
Ref:		master
From Image:	ImageStreamTag openshift/php:7.0
Output to:	ImageStreamTag php-helloworld:latest

Build Run Policy:	Serial
Triggered by:		ImageChange, Config
Webhook GitHub:
	URL:	https://master.example.com:8443/apis/build.openshift.io/v1/namespaces/testxx/buildconfigs/php-helloworld/webhooks/<secret>/github
Webhook Generic:
	URL:		https://master.example.com:8443/apis/build.openshift.io/v1/namespaces/testxx/buildconfigs/php-helloworld/webhooks/<secret>/generic
	AllowEnv:	false

Build			Status		Duration	Creation Time
php-helloworld-2 	complete 	7s 		2018-06-25 13:52:09 +0800 CST
php-helloworld-1 	complete 	42s 		2018-06-25 13:23:44 +0800 CST

Events:	<none>
命令行开始一次新的构建
$ oc start-build php-helloworld
build "php-helloworld-3" started
命令行查看 Build
$ oc get build
NAME               TYPE      FROM          STATUS     STARTED             DURATION
php-helloworld-1   Source    Git@3514b04   Complete   About an hour ago   42s
php-helloworld-2   Source    Git@e898342   Complete   26 minutes ago      7s
php-helloworld-3 Source Git@e898342 Complete 9 minutes ago 20s|
Note
|
OpenShift 构建的过程是什么?每一次构建都是从源代码开始吗?build 和 buildconfig 的关系是什么,Openshift 构建引入 BuildConfig 带来了那些好处?
|
部署组件 DeploymentConfig
在 Web Console 界面,选择 Applications → Deployments,进入部署列表,选择 php-helloworld,进入部署配置页面
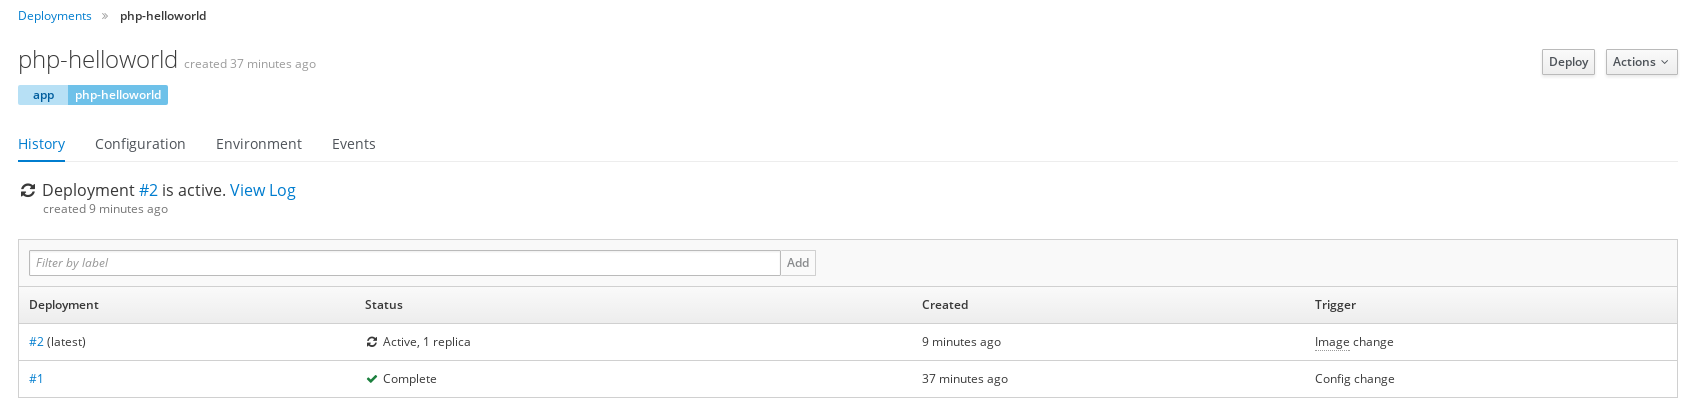
点击 Configuration, Environment, Events 等页面查看部署相关配置。
命令行查看构建
$ oc get deploymentconfigs
NAME             REVISION   DESIRED   CURRENT   TRIGGERED BY
parksmap         1          1         1         config,image(parksmap:1.2.0)
php-helloworld   3          1         1         config,image(php-helloworld:latest)
命令行产看 ReplicationController
$ oc get rc
NAME               DESIRED   CURRENT   READY     AGE
parksmap-1         1         1         1         4h
php-helloworld-1   0         0         0         51m
php-helloworld-2   0         0         0         23m
php-helloworld-3 1 1 1 5m|
Note
|
DeploymentConfig 和 ReplicationController 的关系是什么? |